How to Add an Image to Your Product or Website
You can easily add images to your digital products and websites using Pagewheel.
The process is similar whether you’re working in the Page Editor, Offer Page, or Delivery Page.
Adding an Image to Your Digital Product
To include an image in your digital product, first add a DIY page that supports images.
Choosing a Page Layout that Supports Images
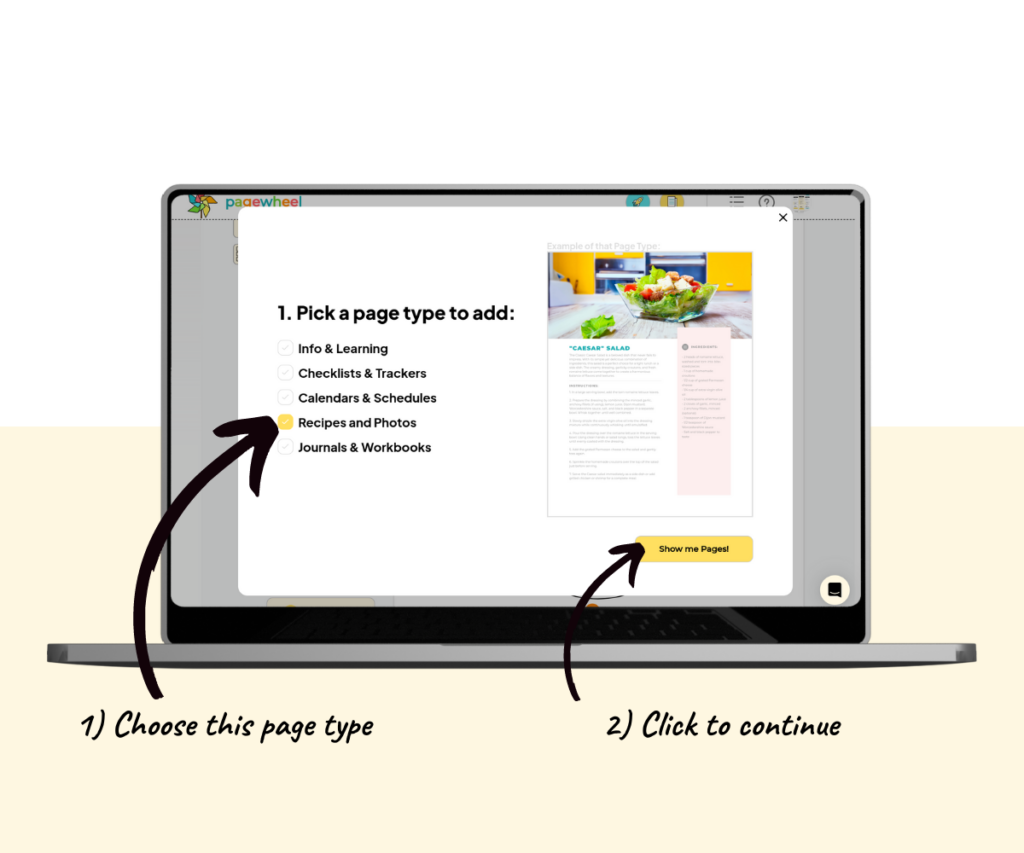
Select the “Recipes and Photos” page type to easily add images to your layout.
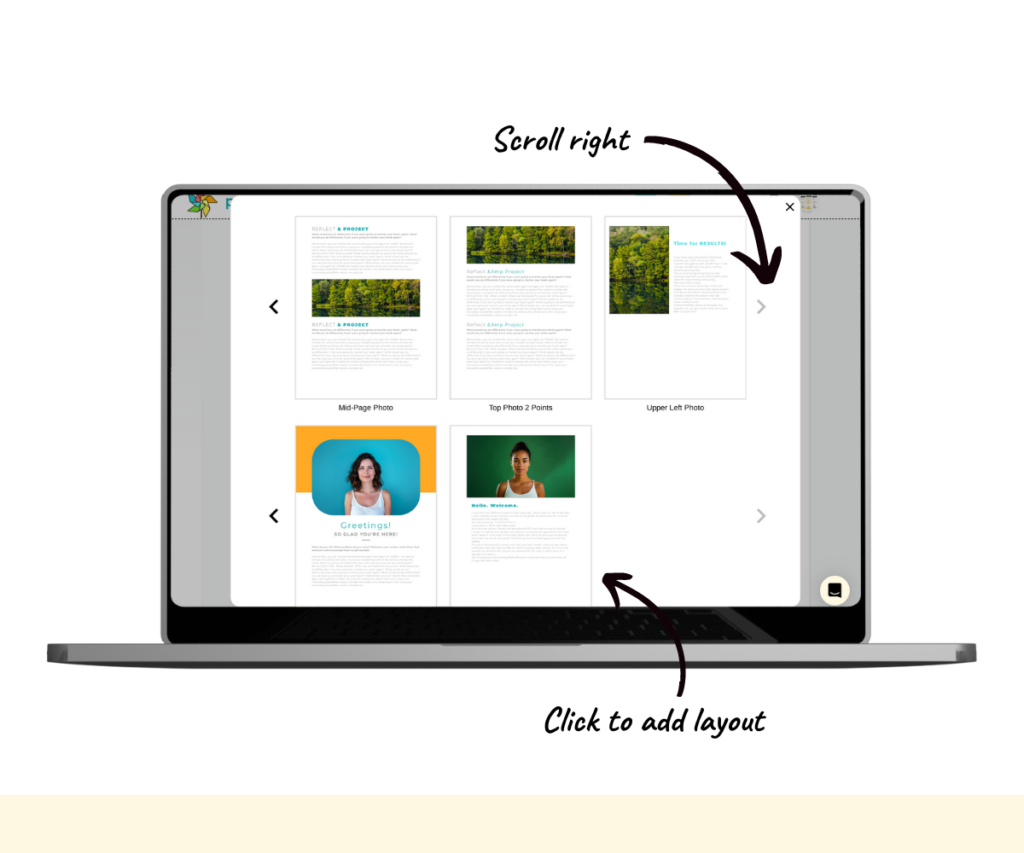
There are various layouts available for each page type.
Scroll to the right by clicking the arrows to view the basic image layouts.
These layouts feature large image placeholders, making them perfect for adding images to your digital products.
Click a layout to add the page to your digital product.
Adding the Image to the Page
After adding a page type that supports images, you can easily replace the placeholder images with your own.
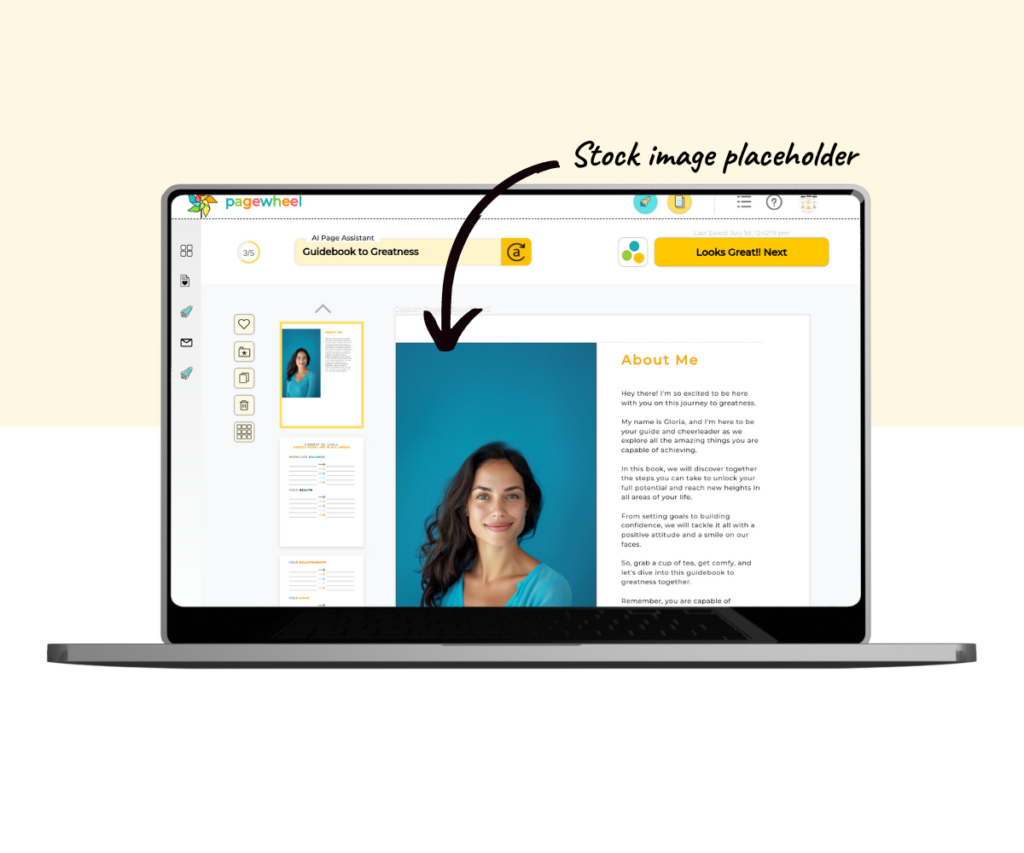
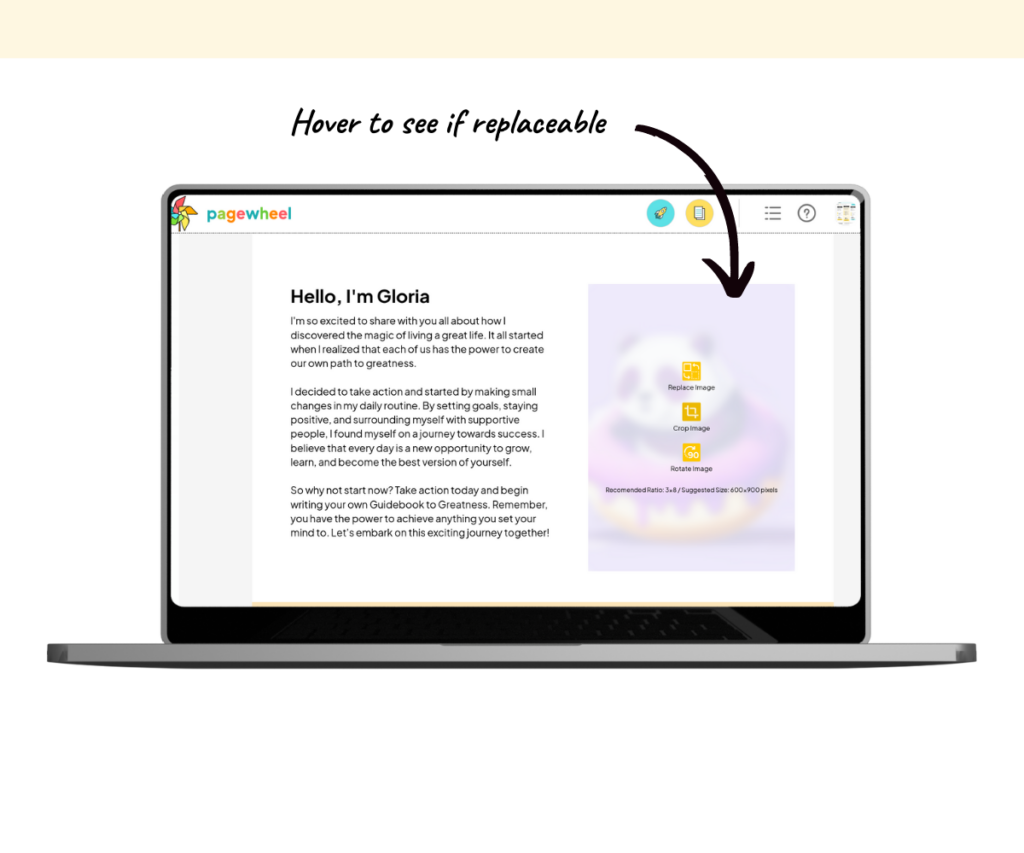
When you hover over replaceable images, edit buttons will appear.
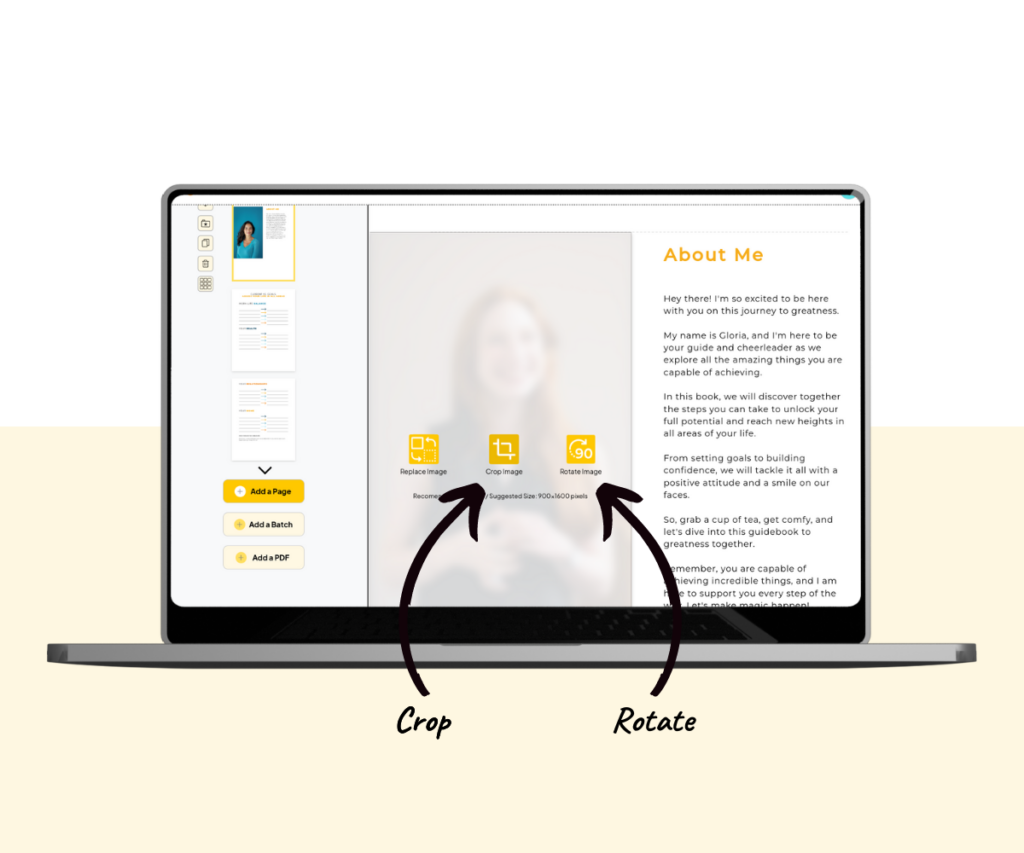
You’ll see three buttons, with the recommended image size displayed below them.

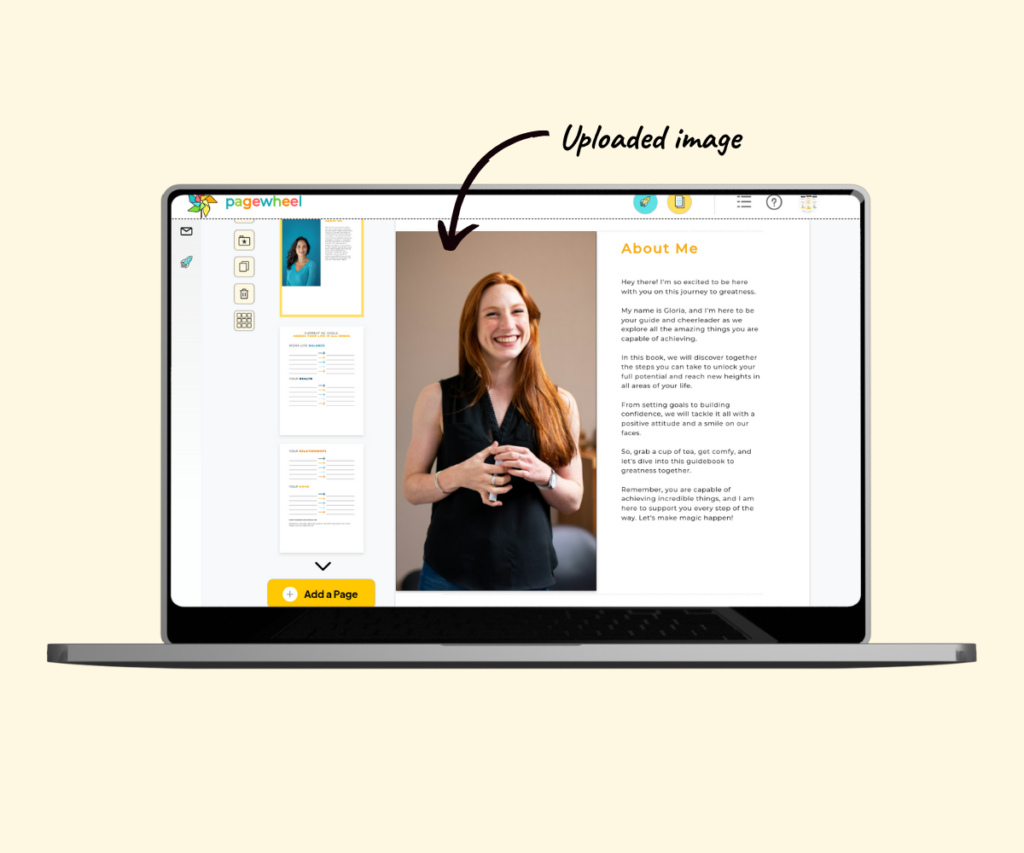
Click the “Replace Image” button to open your file browser.
Choose the image you want, then wait a moment for it to upload.
After the image is uploaded, you can rotate or crop it.
Simply hover over the image to access these options.
For more details, see How to Replace an Image.
Adding an Image Using The Website Editor
To add an image to your Offer Page or Delivery Page, start by adding a section that includes images.
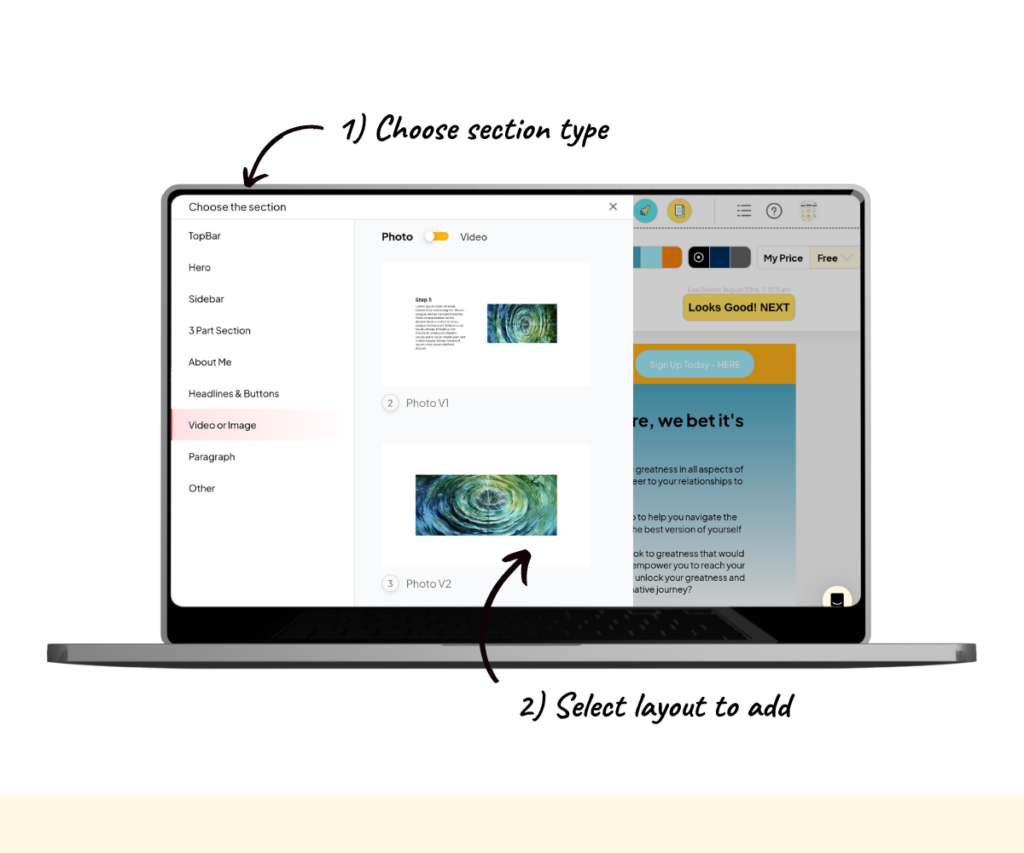
Choosing a Website Section That Supports Images
The following section types offer layouts with images:
- Hero
- About Me
- Video or Image
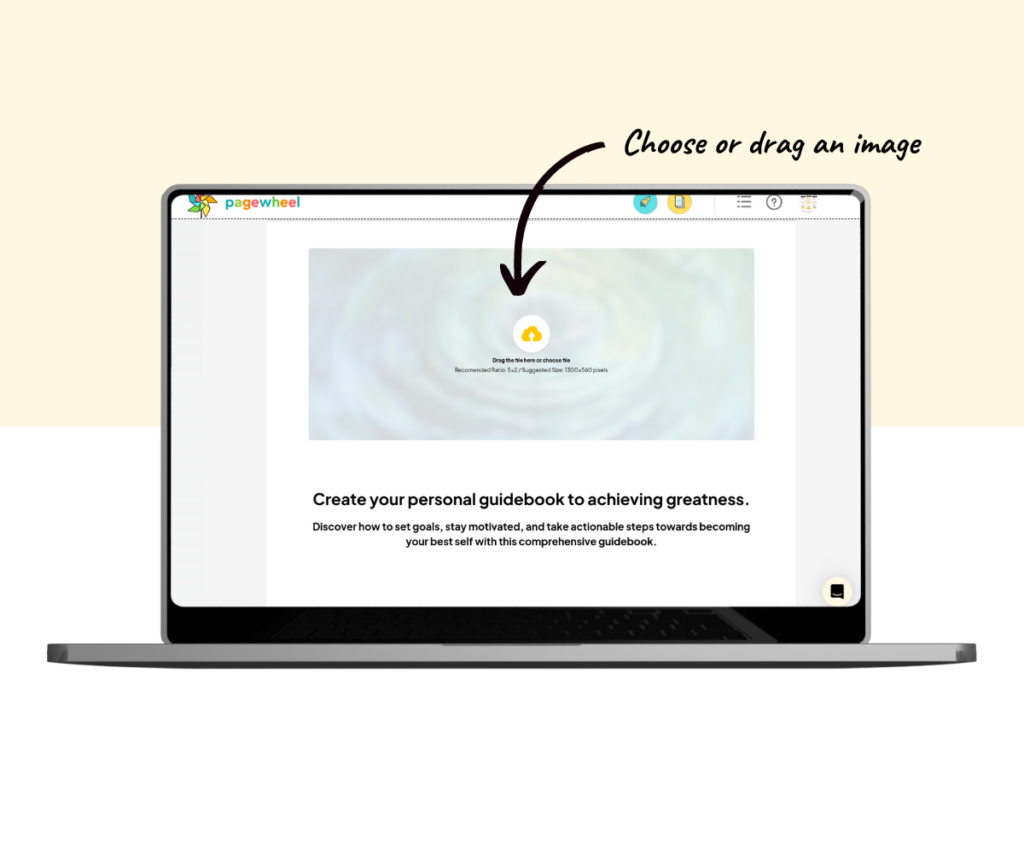
After adding the image section, hover over the image to view the instructions.
For more details, see All the Available Website Sections.
Adding the Image to the Web Page
You can either click to choose an image or drag the image over to upload it.
How Image Replacement Works Across Pagewheel
Replacing images works the same across the Page Editor, Offer Page, and Delivery Page.
If an image is replaceable, it will display options when you hover over it.
Publishing Your Changes
Keep in mind that the PDF for your product is not updated automatically.
If you add any images, you’ll need to re-publish the product. Similarly, updates to the Offer or Delivery pages must be published before they appear on the live website.
For more details, see Saving vs Publishing.