All the Sections for Your Offer and Delivery Pages
Pagewheel automatically creates offer and delivery pages to promote each of your digital products. You can further customize these web pages by adding more sections.
Product Websites in Pagewheel
Once a digital product is complete, Pagewheel lets you quickly generate a promotional website using its advanced AI capabilities.
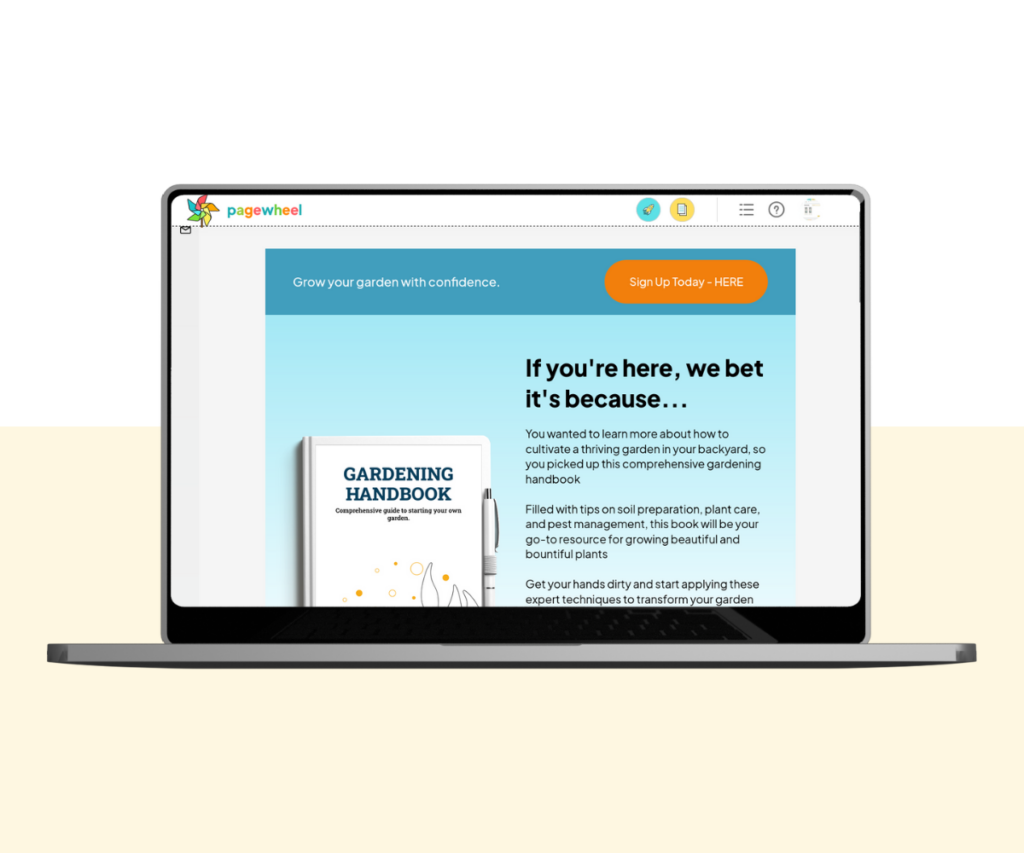
While these pages are already effective, you can enhance them by adding more sections.
You can do this while creating a new website, or editing an existing website.
For more information, see How to Edit an Existing Website.
Opening the Section Editor
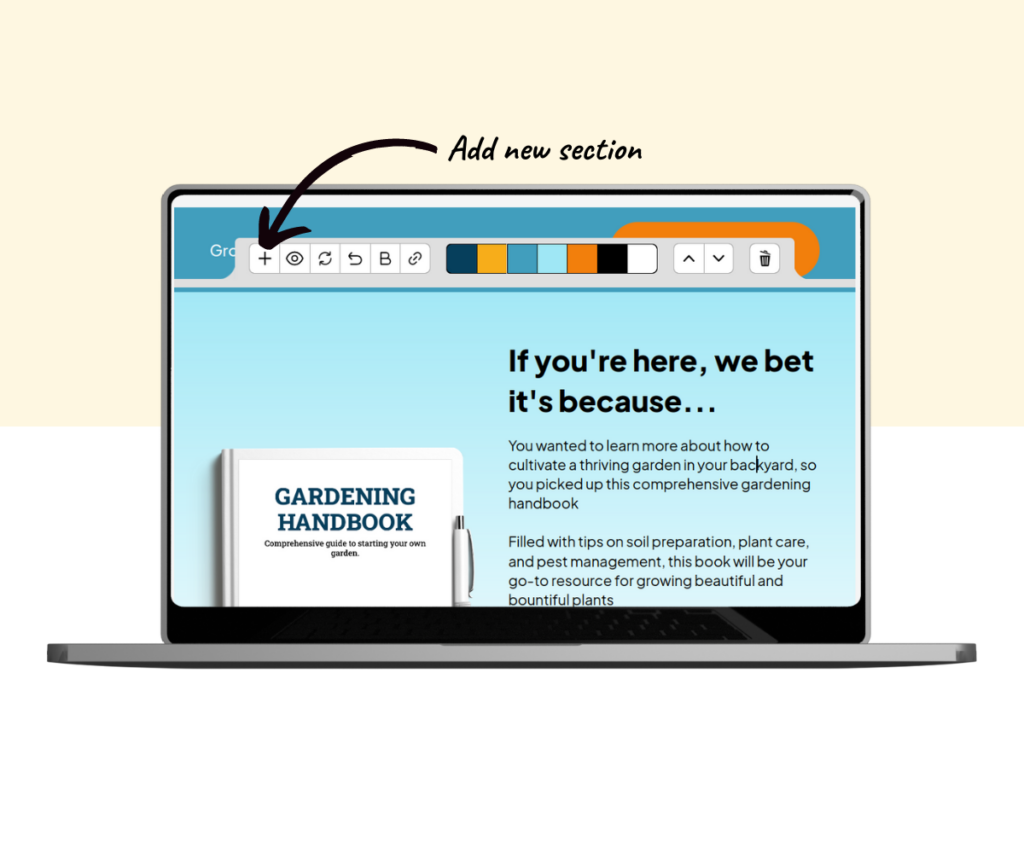
You add sections to a product’s web pages using the section editor.
To access the section editor, simply click on any section of the webpage.
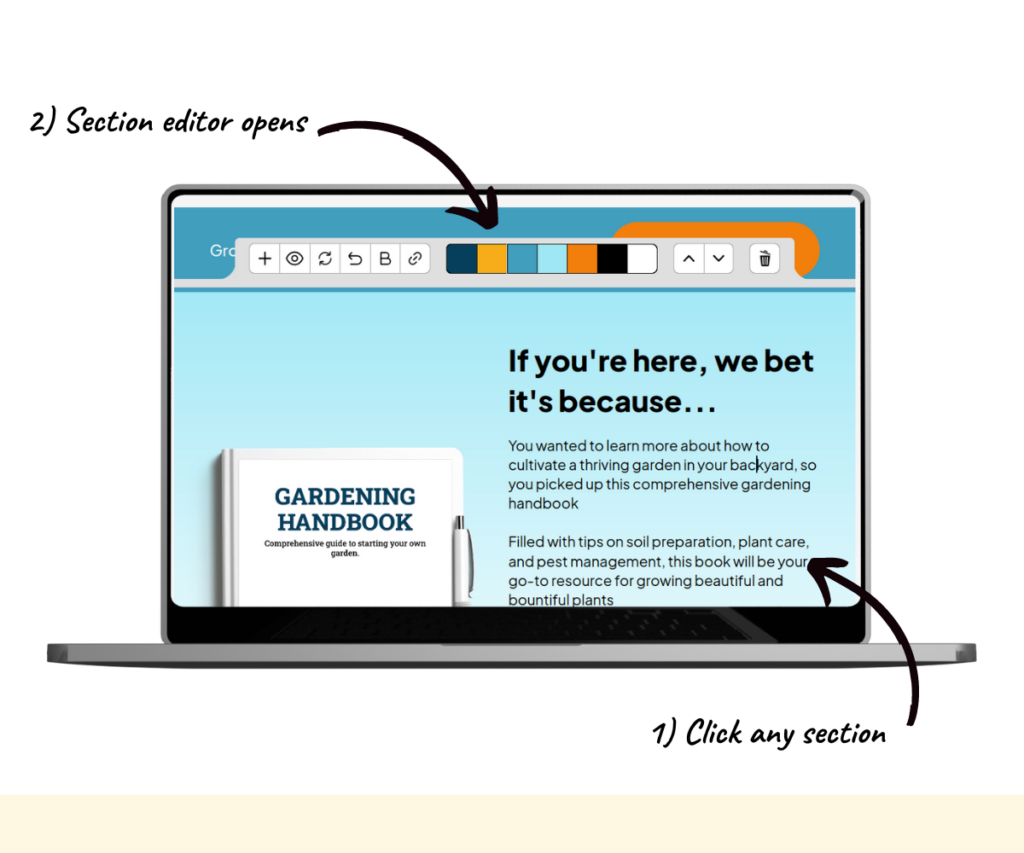
You’ll see the section editor toolbar appear above the chosen section.
To add a new section, click the + icon on the left.
This will add a section below the chosen section.
For more information, see Introduction to the Section Editor.
A list will open, displaying all available sections.
These sections have different functions. We encourage you to explore each one.
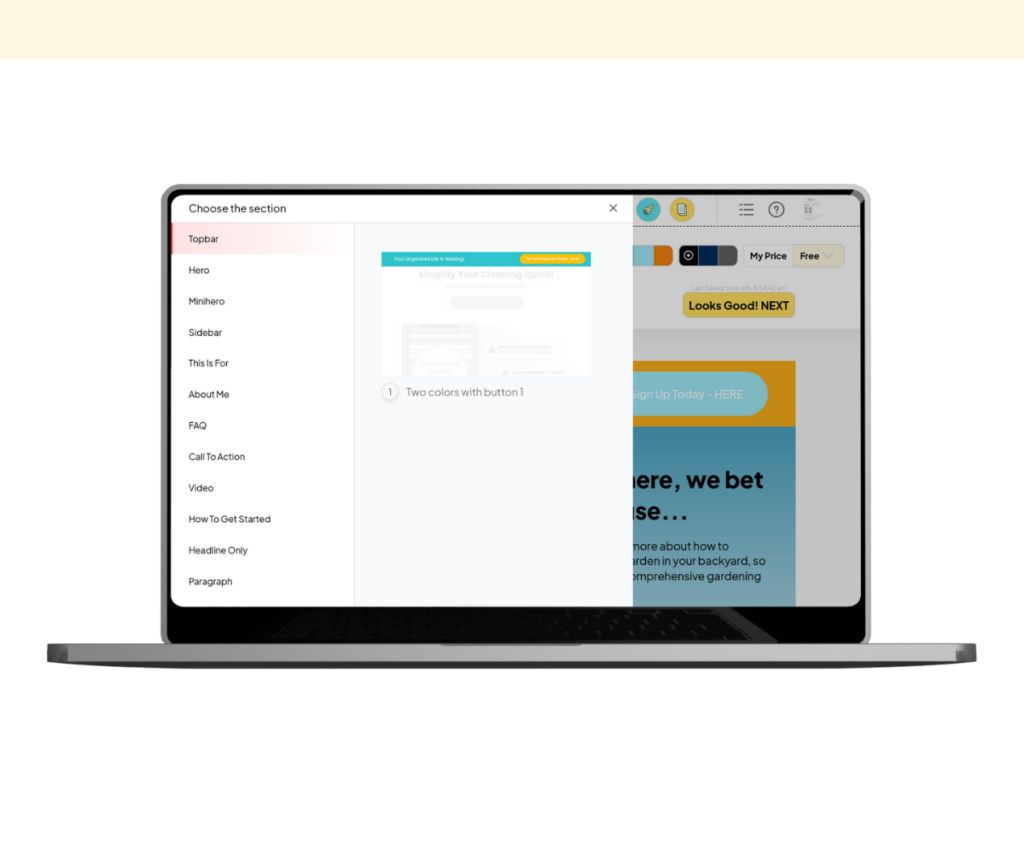
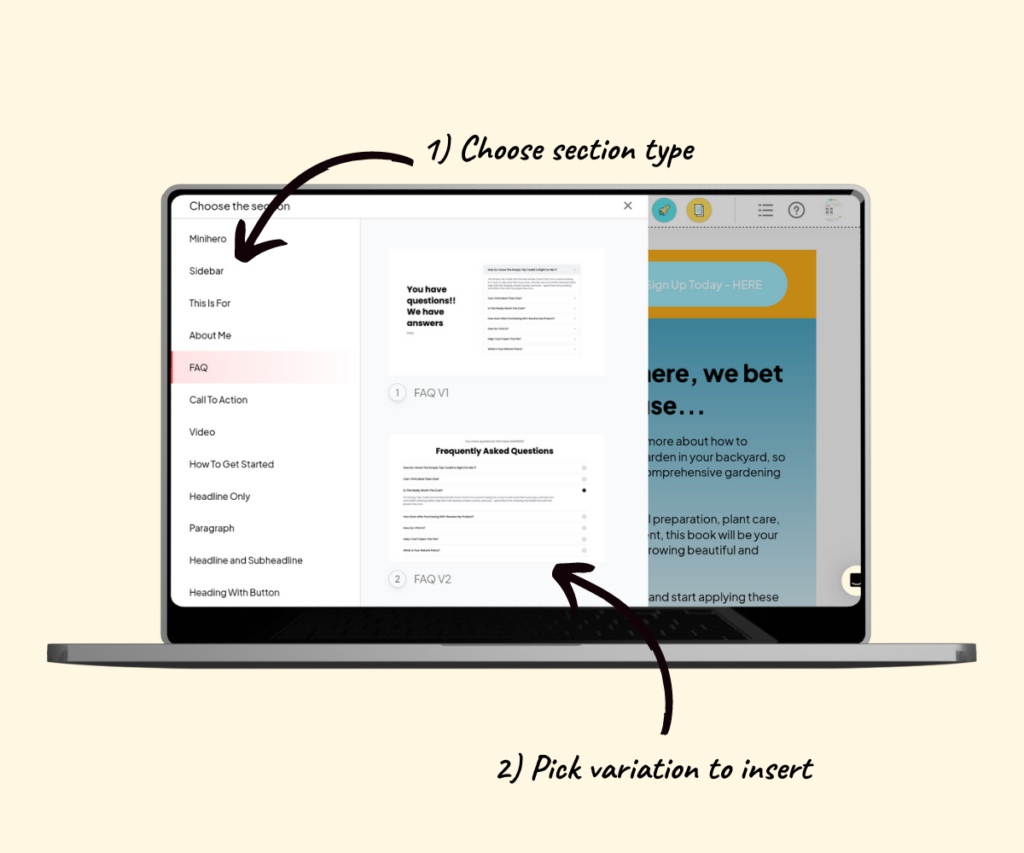
You’ll also notice that some sections have multiple layout variations.
Click a variation to add it to your page.
Section Types
Here is a detailed list of section types available and suggestions on how to use each one.
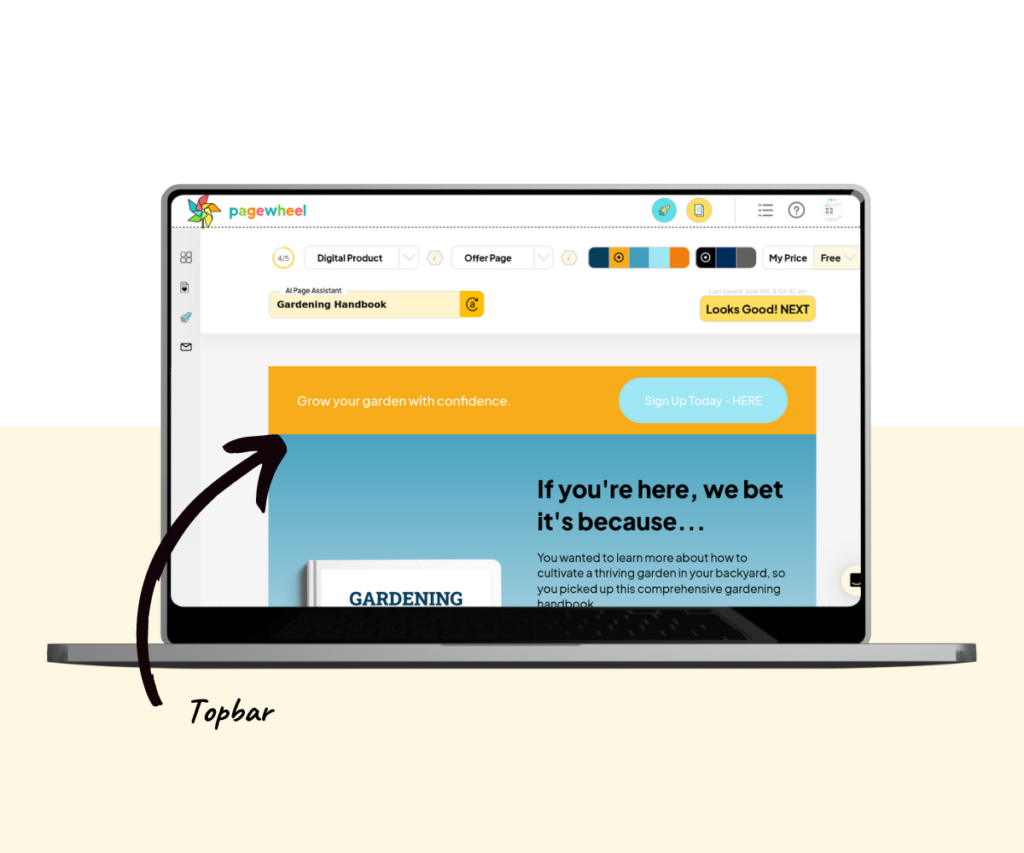
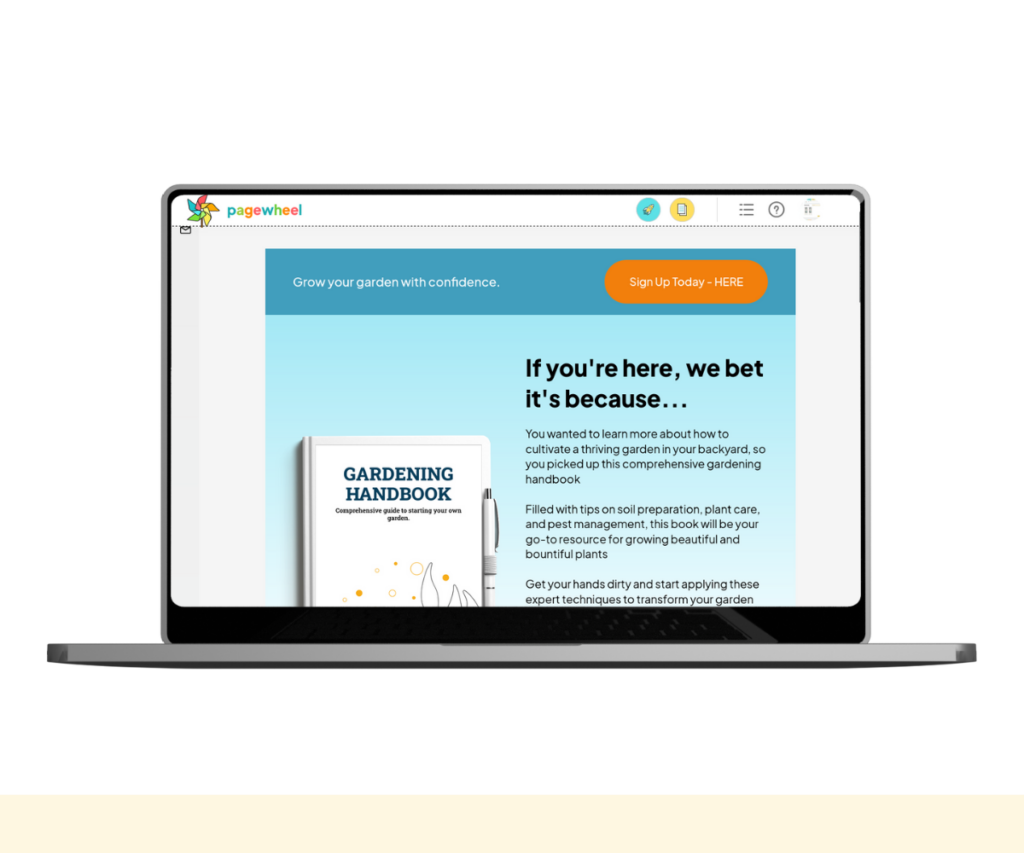
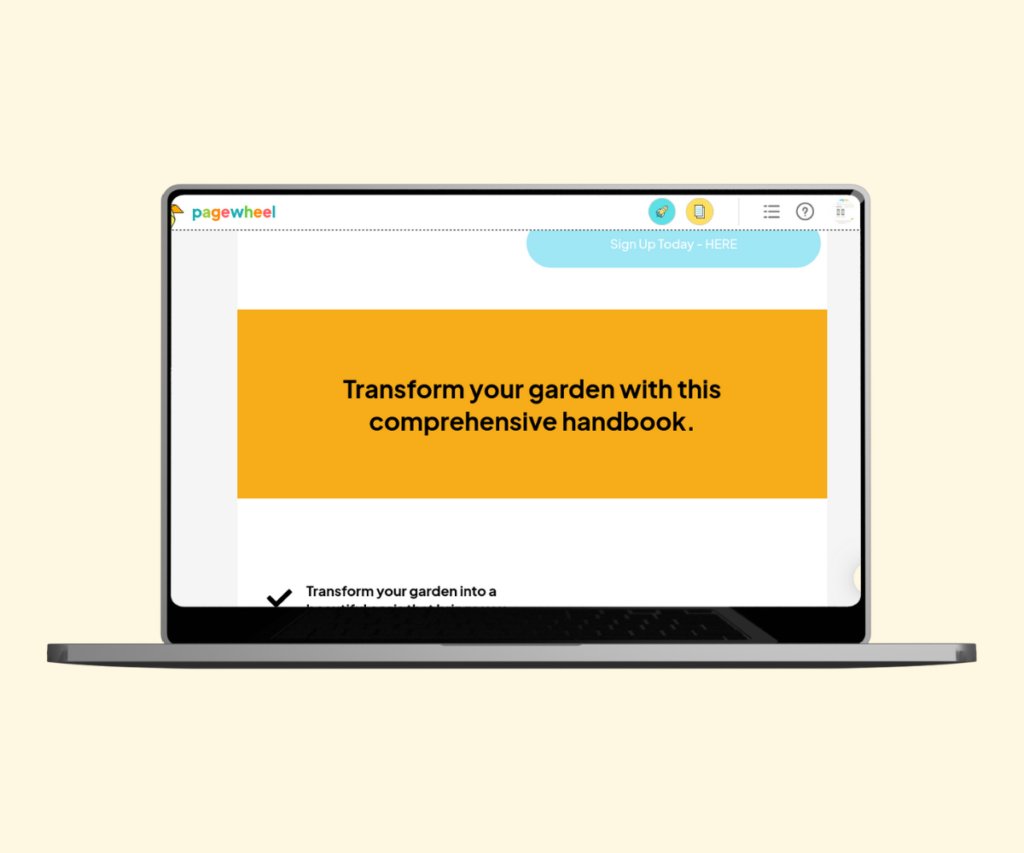
Topbar
The topbar section is ideally placed at the top of the page, though it can be positioned anywhere.
It typically features a product slogan on the left and a buy-now button on the right.
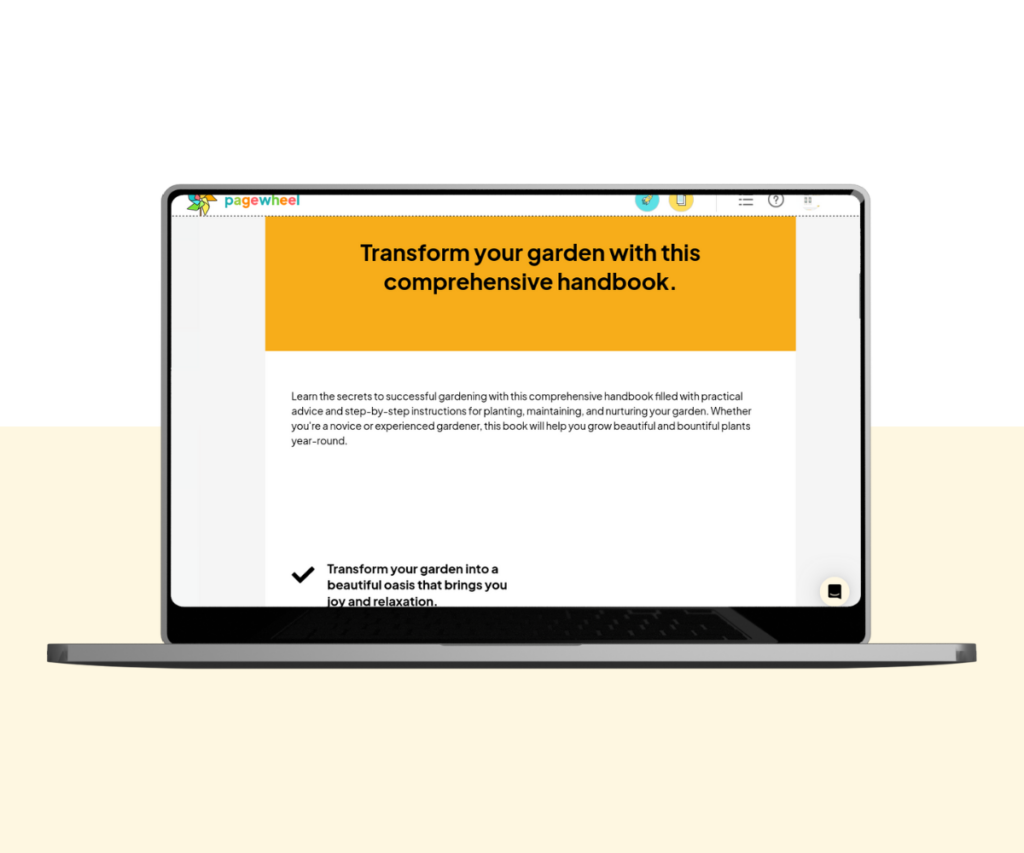
Hero
The hero section is intended to capture a user’s attention. This section features a large image, a headline, descriptive text, and a purchase button.
Since it is usually the first element seen when opening the website, the text should be very persuasive.
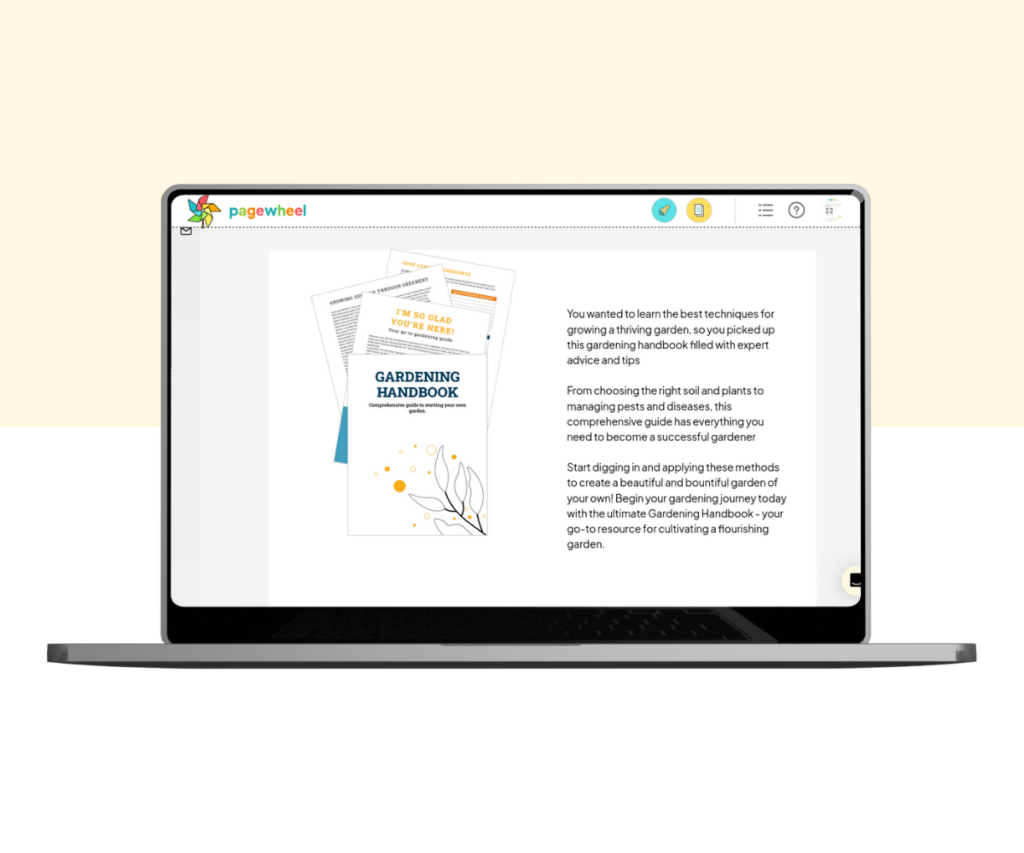
Minihero
The minihero section is a smaller version of the hero section.
It doesn’t include headline text or a button. Use it to give extra information about your product.
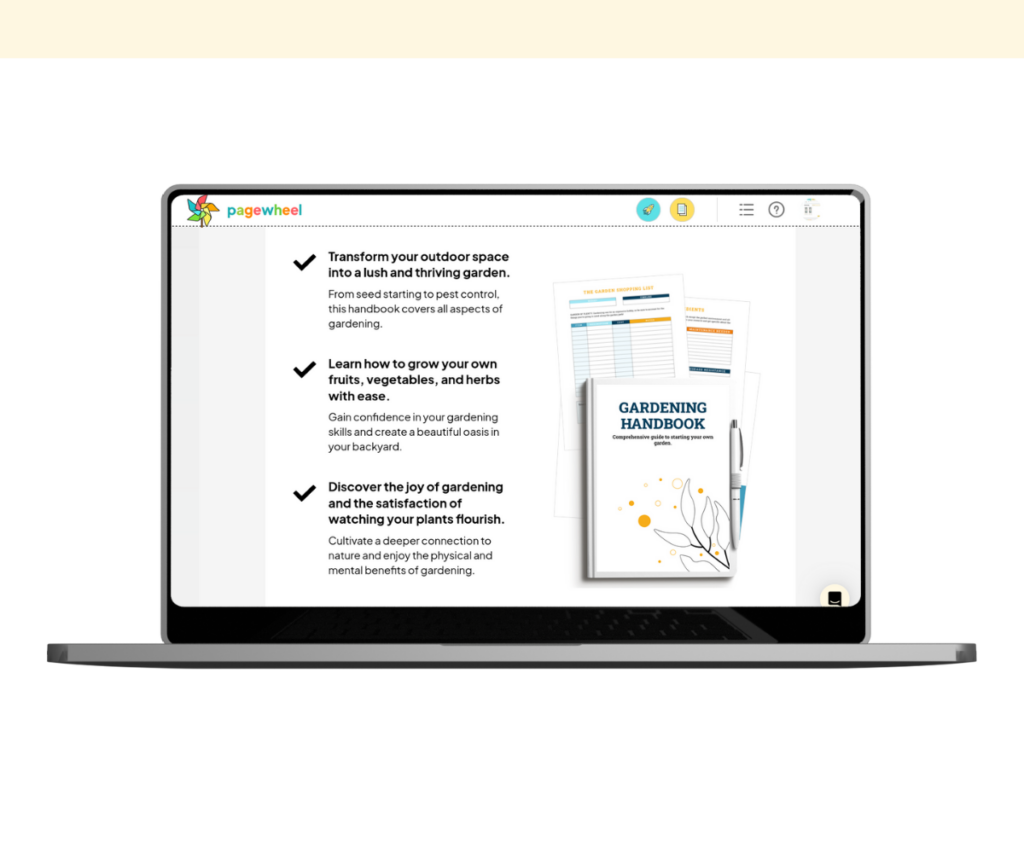
Sidebar
The sidebar section is similar to the minihero section, but it uses a list with tick graphics.
It is ideal for explaining the main features of your product.
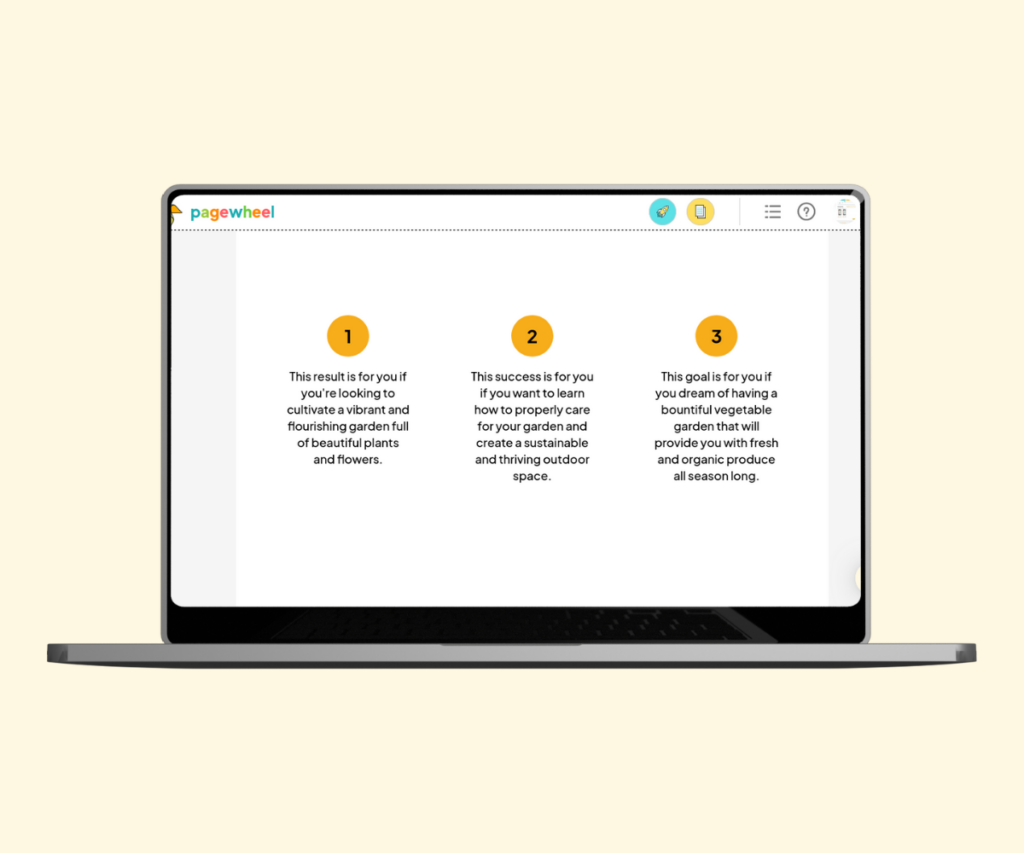
This Is For
The “This Is For” section highlights the benefits and results of using your product.
It helps potential customers imagine the positive changes the product can bring to their lives.
About Me
The about me section includes a photo and description of the product creator.
This personal element helps build a connection with potential customers.

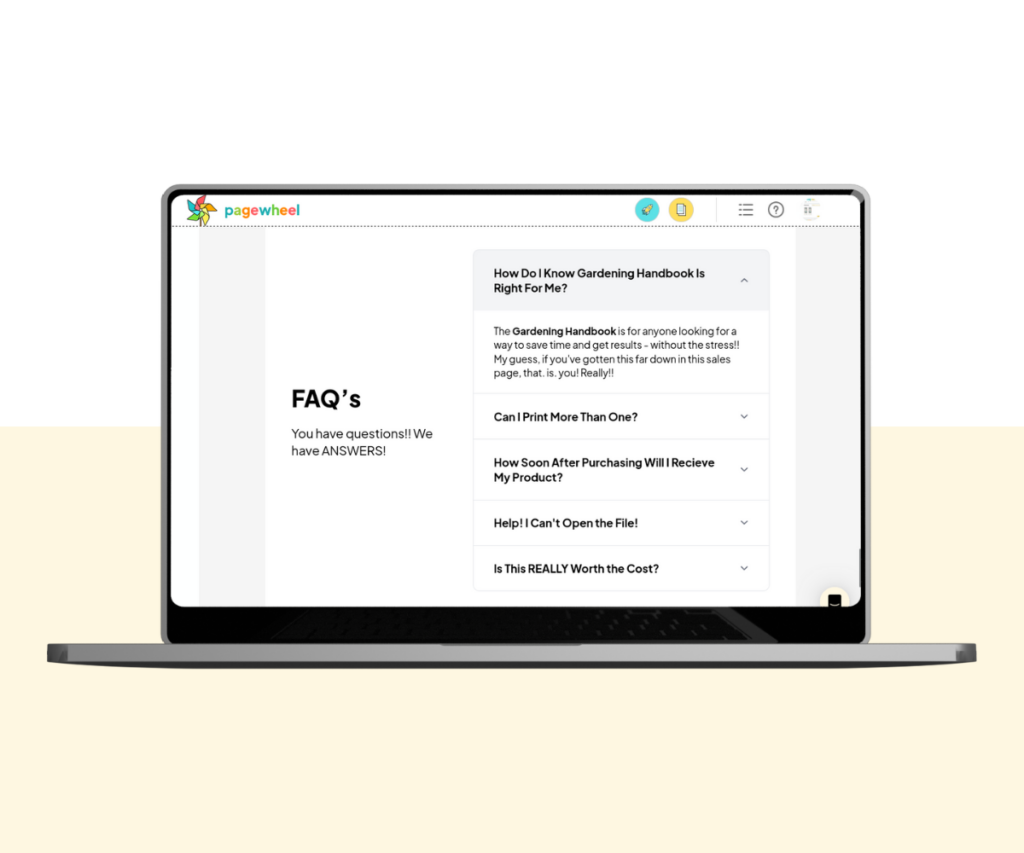
FAQ
The FAQ section is another effective persuasive tool.
It uses AI to generate text that answers any remaining questions a potential customer may have.
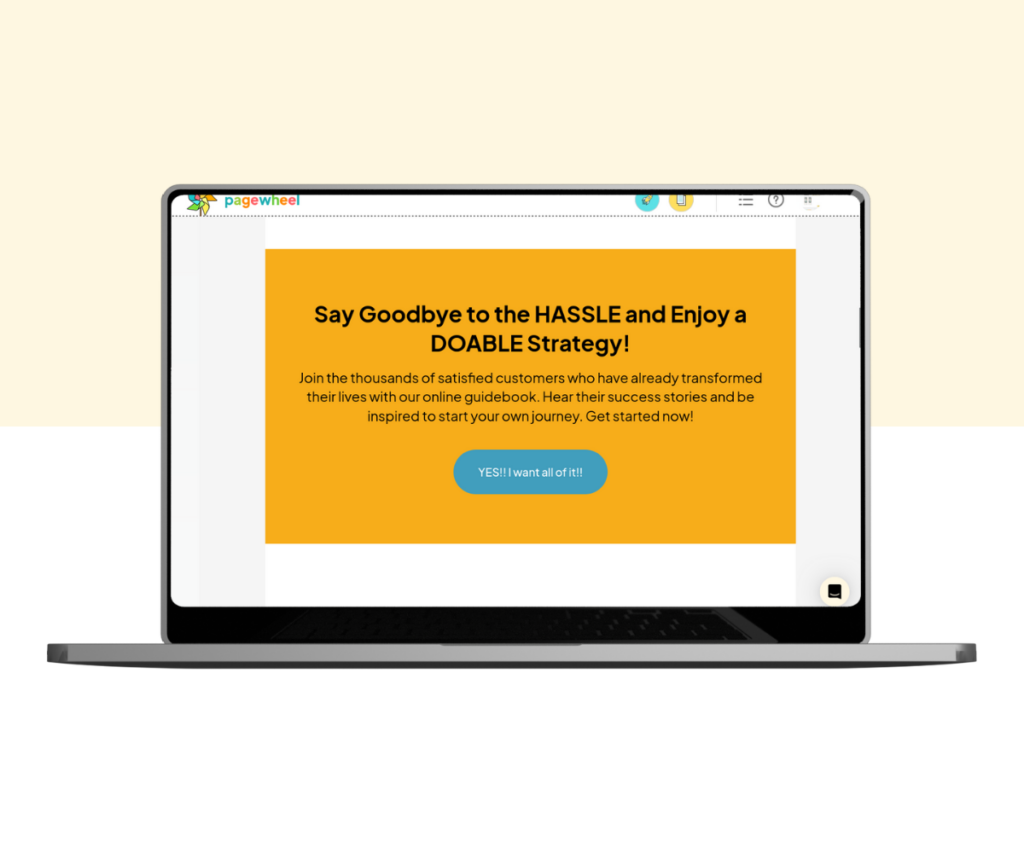
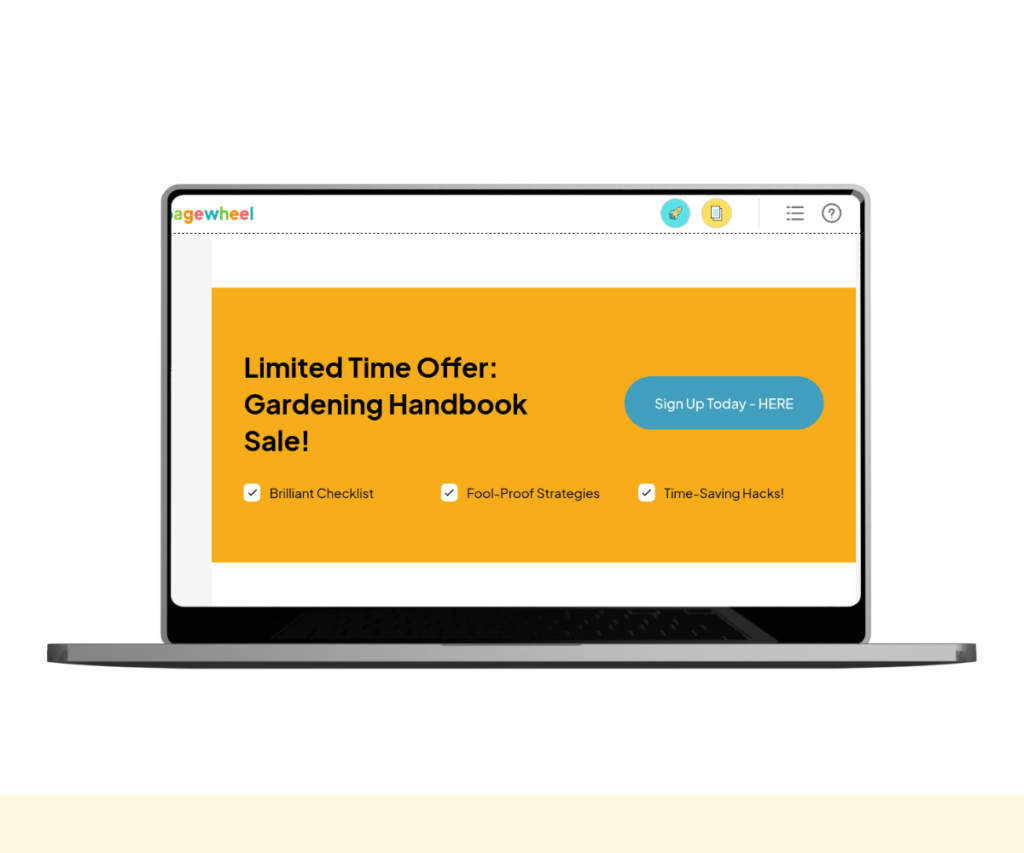
Call To Action
The “Call To Action” section is bold and striking. It’s designed to generate quick sales.
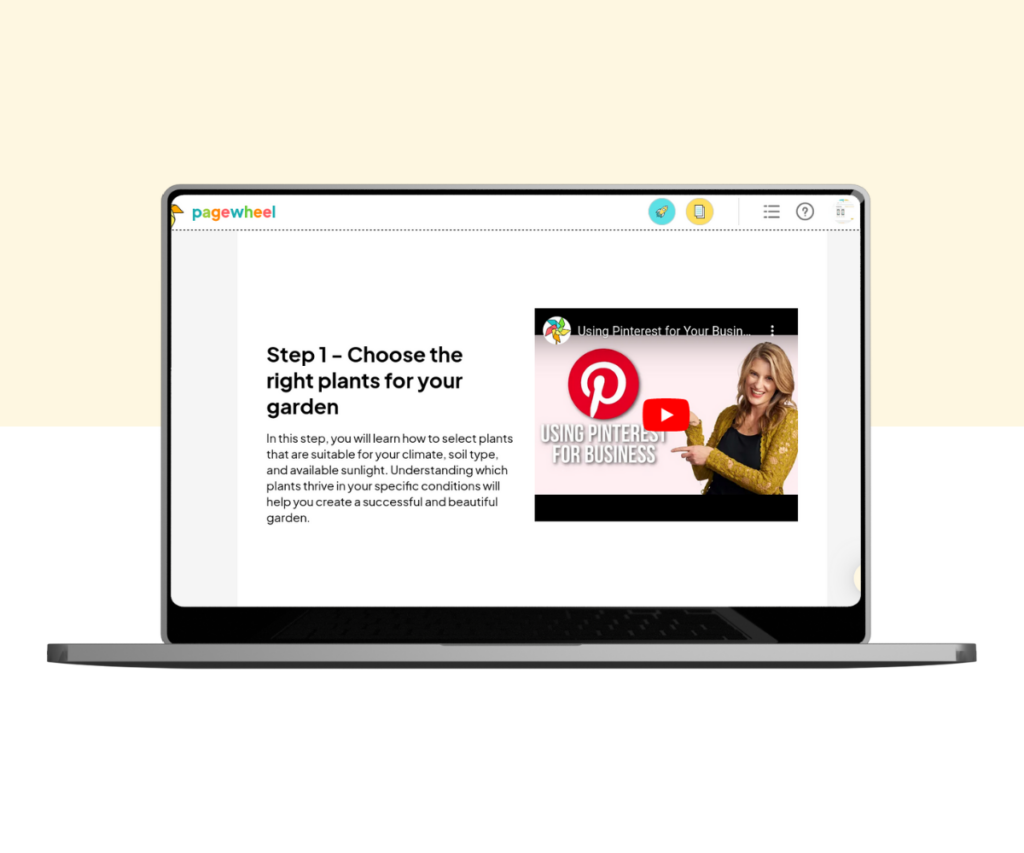
Video
The video section allows you to add your own Youtube videos to your page.
Just add the link to your video in the box.
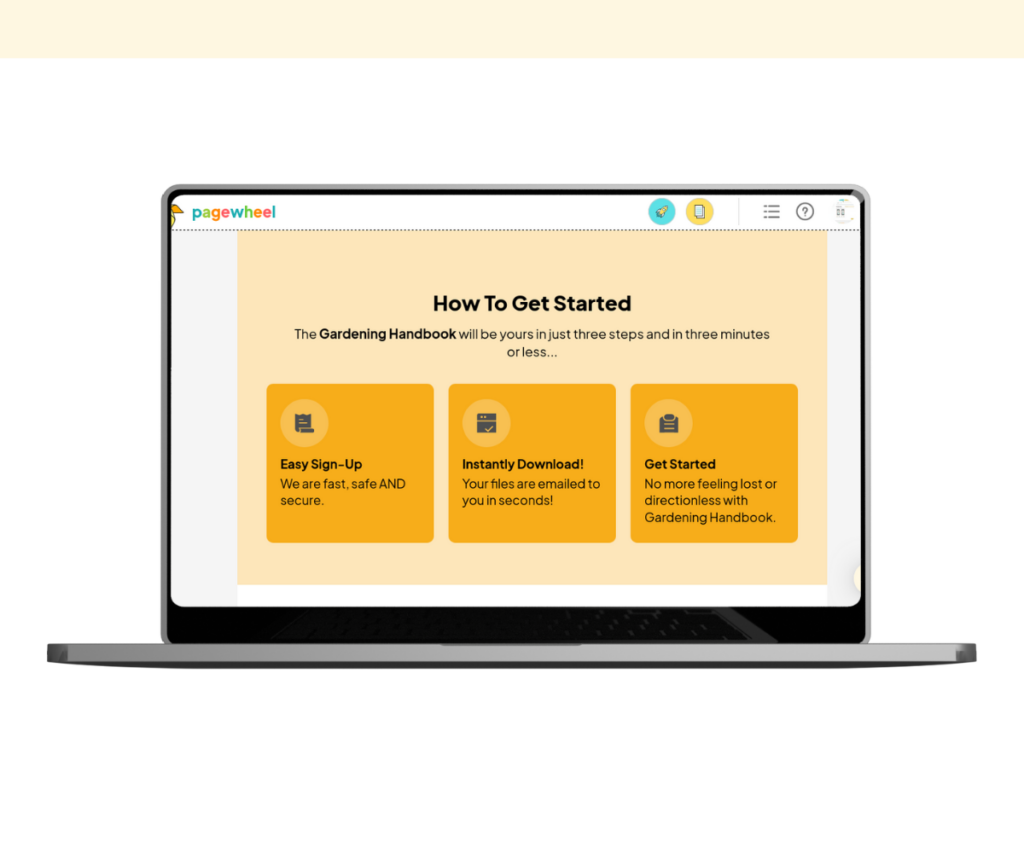
How To Get Started
The “How To Get Started” section shows how easy it is to purchase your product.
It guides potential customers through an easy, step-by-step process.
Headline Only
The “Headline Only” section is used to give bold, eye catching statements about your product.
Paragraph
Use the paragraph section to add simple blocks of text. It’s a straightforward way of giving information.
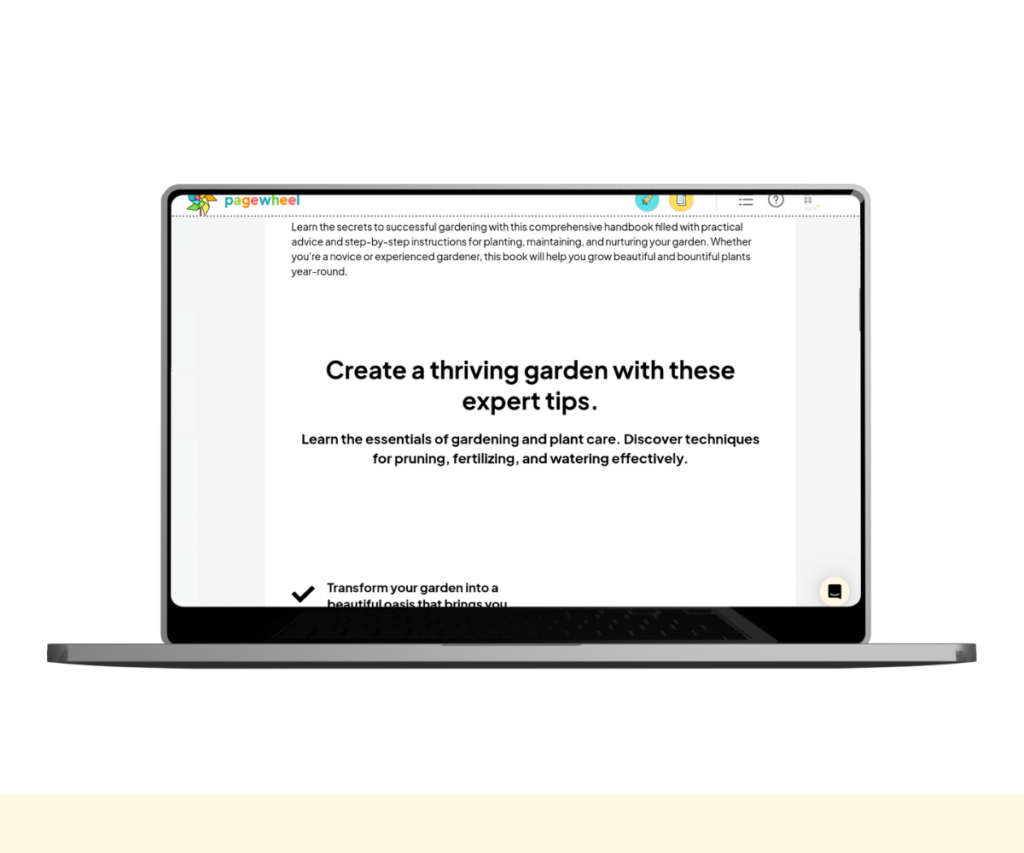
Headline and Subheadline
The “Headline and Subheadline” section is another way of delivering bold statements about your product.
It combines a strong headline with a persuasive subheadline to draw in readers.
Heading With Button
The “Heading With Button” section combines bold statements with a button to purchase.
With a convincing call to action, it can be a powerful tool for driving sales.