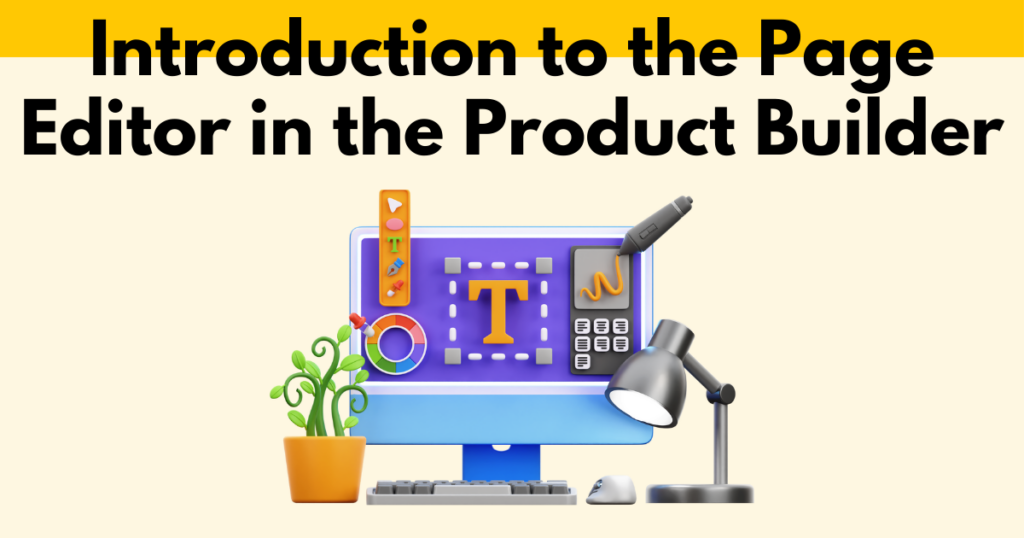
Introduction to the Page Editor in the Product Builder
The Page Editor in Pagewheel is a tool that you will constantly use. It’s where you will build various digital products for your customers, and it’s a tool that offers so much. In this post, we will be showing you the basics.
The page editor is step three in the product builder workflow. You can access it once you’ve decided on your product title and chosen a mockup design from our selection.
The first thing to note about the page editor is the carousel on the left-hand side that shows all the pages you currently have in your digital product. You may have used ready-made content, uploaded a PDF, or used DIY content. Whichever option you’ve chosen, the pages will appear here. You can scroll through them here, and to select one, simply click on it.
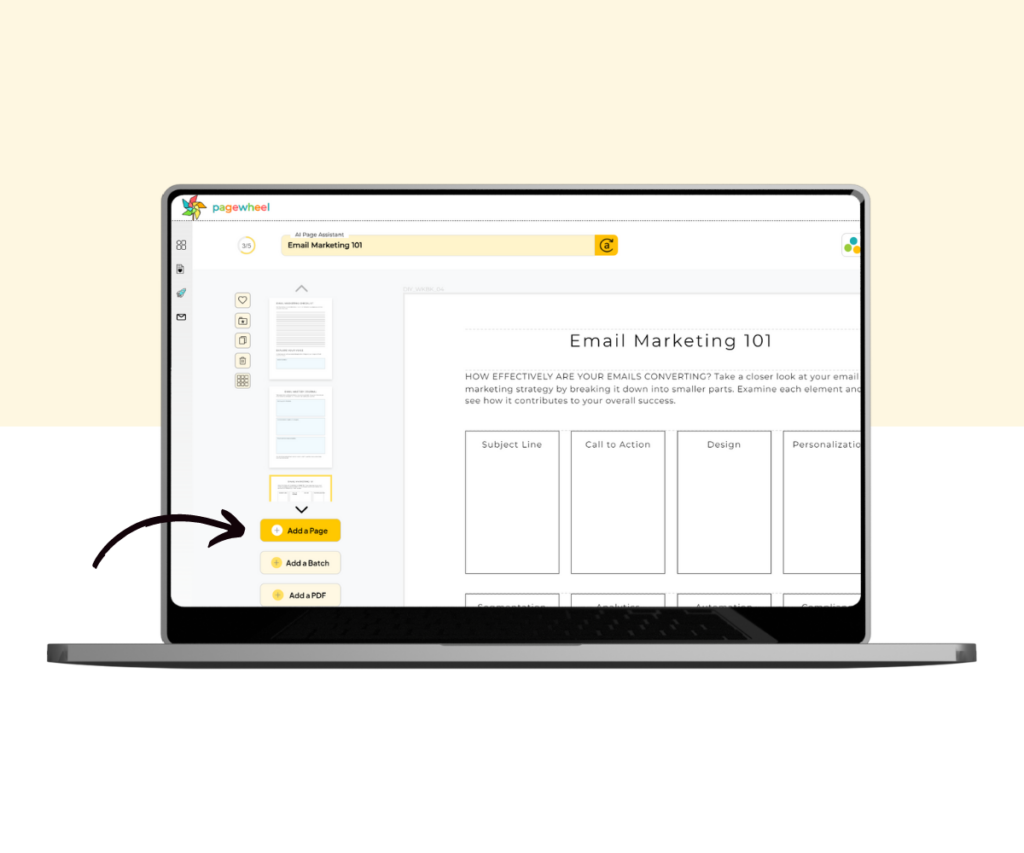
You can add more pages if you like, either DIY pages powered by our AI, batches from our ready-made content or even your own content. Select ‘Add a Page’, ‘Add a Batch’, or ‘Add a PDF’ as shown below.
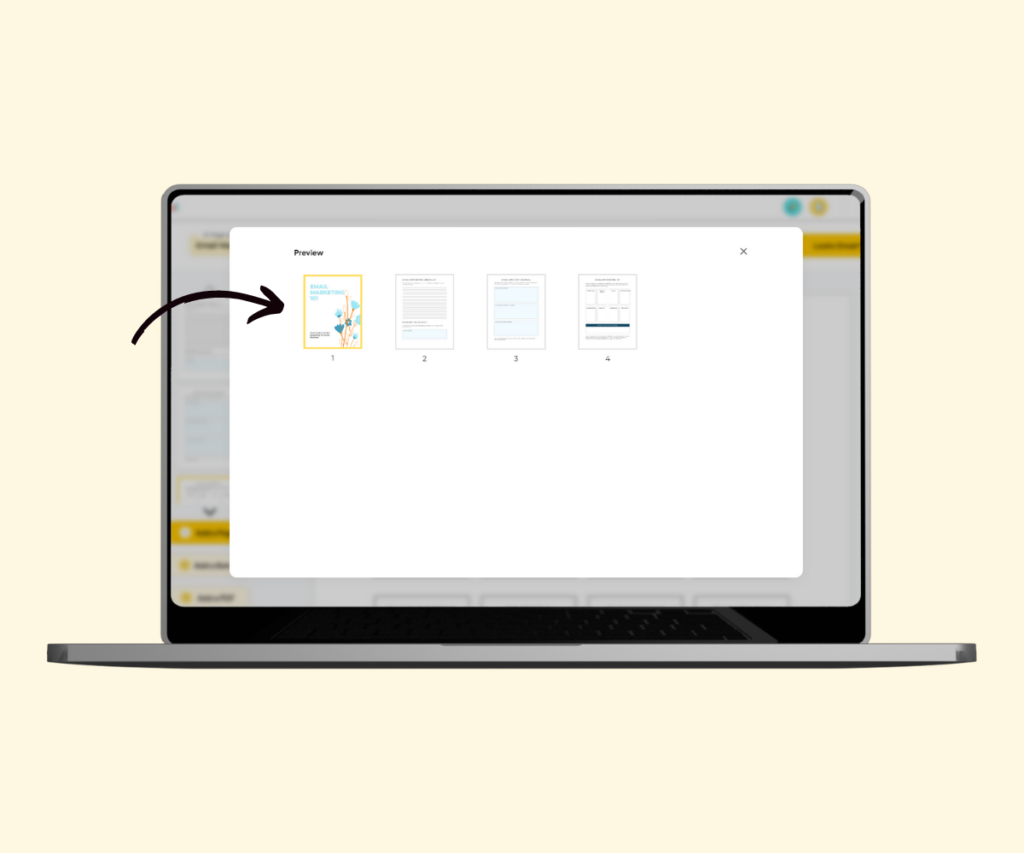
To see all the pages in one batch, select the “Grid View” button on the toolbar.

Grid View shows all the pages in one layout, and here, you can scroll through them and move them around by left-clicking on your desired page and dragging it to where you’d like it to appear in the product.
Each product you have should have an About Me section. You don’t need to create this each time either; you can save it and then use it in other digital products.
Click the heart icon to save a page. It will appear in your ‘Saved Pages’ list. Click the button to access any pages you may have saved, and you can select the one you want.
It will be added to the end of your product, where you can move it to the correct position from the ‘Grid View’. You can save three pages for future use.

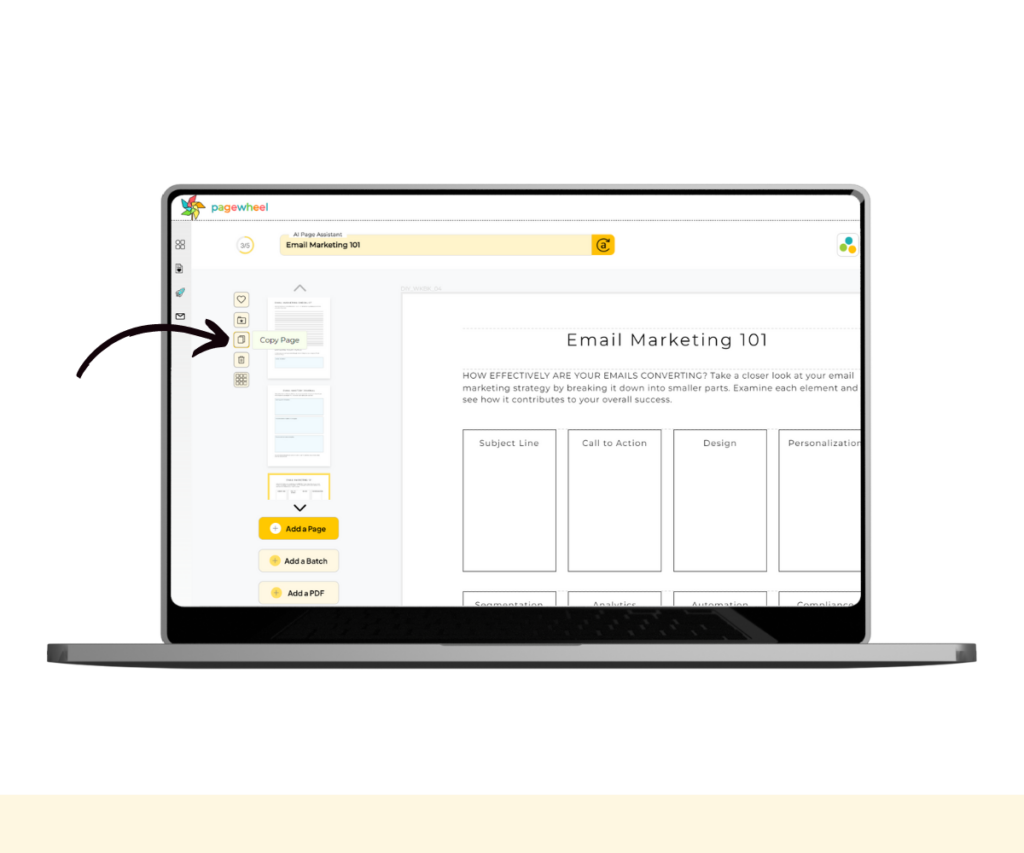
To select a page to duplicate, select it from the page carousel and click the ‘Copy Page’ button.
To delete a page, make sure you have it highlighted, and then click on the ‘Trashcan’ icon. Note that once it is deleted, you won’t be able to retrieve it.
Should you wish to change the branding on a digital product, select the ‘Brand’ icon at the top-right of the page. This takes you back to step one in the product builder and you can change the colors.
Finally, to edit any pages, select the page from the page carousel, click on the text you want to edit, and make your changes using the in-page text editor. You can bold, italicize, underline text, and insert hyperlinks using this, as well as move paragraphs around.
Editing a headline allows you to change the colors too. Just click on the text you want to change and the in-page text editor will appear.
And that’s it for the introduction to the Page Editor in Product Builder on Pagewheel. It’s an extremely useful tool and one that you will use often.
Additional Resources
- Pagewheel User Guide
- Introduction to the Section Editor in the Website Builder
- How to Create a Digital Product (or Lead Magnet)
- 21 Digital Product Ideas
- How to Add Links to Your Products
- How to Delete or Duplicate a Page in Your Product
- How to Crop an Image
- How to Edit a Product
- How to Rearrange Pages in a Digital Product
- How to Delete a Page from a Digital Product
- Become a Referral Partner – join our Affiliate Program!